Last week I got my new (and first) portable studio equipment in the mail. I've used on-camera flash in the past, but was never really happy with the results. Even bouncing from the ceiling or wall didn't give really good results.
I bought the FroKnowsPhoto Video Guide to Flash Photography as a starting point. It shows by just using one off-camera flash and an umbrella, you can get pretty nice results.
I did some more searching on Youtube and found some very helpful videos at B&H's channel. One of them is Beginners Guide to Off-Camera Lighting and Control. Showing what you can do with multiple flashes and modifiers.
Now that I have a basic of idea of what I wanted I can look for some equipment.
My studio equipment
I decided that I wanted to go for a three flash setup and at least one umbrella and a reflector. I already have a Canon 430 EX speedlite, but € 250,- a piece (for the 430EXII) and another € 250,- for the transmitter it was a bit too much for my first setup.
There are a few third party brands that make some cheap, but good flashes. To make a long story short; I chose Yongnuo as my brand. I bought three YN560 IV flash units (€ 99,- each) and a YN560-TX transmitter (€ 49,-). The cool thing about these is that they have build-in transceivers. This means I don't need a separate receiver connected to the flash units. I can control the flash units with the transmitter, so I don't have to walk over to the flashes to set the power or angle. As a bonus, the flash-units can also act as transmitter. Not sure when I would use that, though.
I wasn't really picky on the umbrella. I picked up a Westcott 43" Flash Kit (€ 77,-). This includes an umbrella, stand and a shoe mount bracket. The reflector wasn't really hard to pick either. I chose a Godox 5 in 1 reflector (€ 32,-). As an extra I picked up a Falcon Eyes Color Gel set to add some color to my lights.

First studio shoot
Connecting the flash units to the transmitter was pretty easy. I might do a post on that in the future. Setting up the 'studio' below takes up about 5 to 10 minutes.

I started using the umbrella as a reflector, but I didn't get the results I wanted so I used it to shoot through. I used the reflector thingy to block some light going to the back wall. I used the Godox reflector on the right to fill some shadows. And one more flash on the floor to light up the background wall. The second tripod keeps the reflector from rolling away.
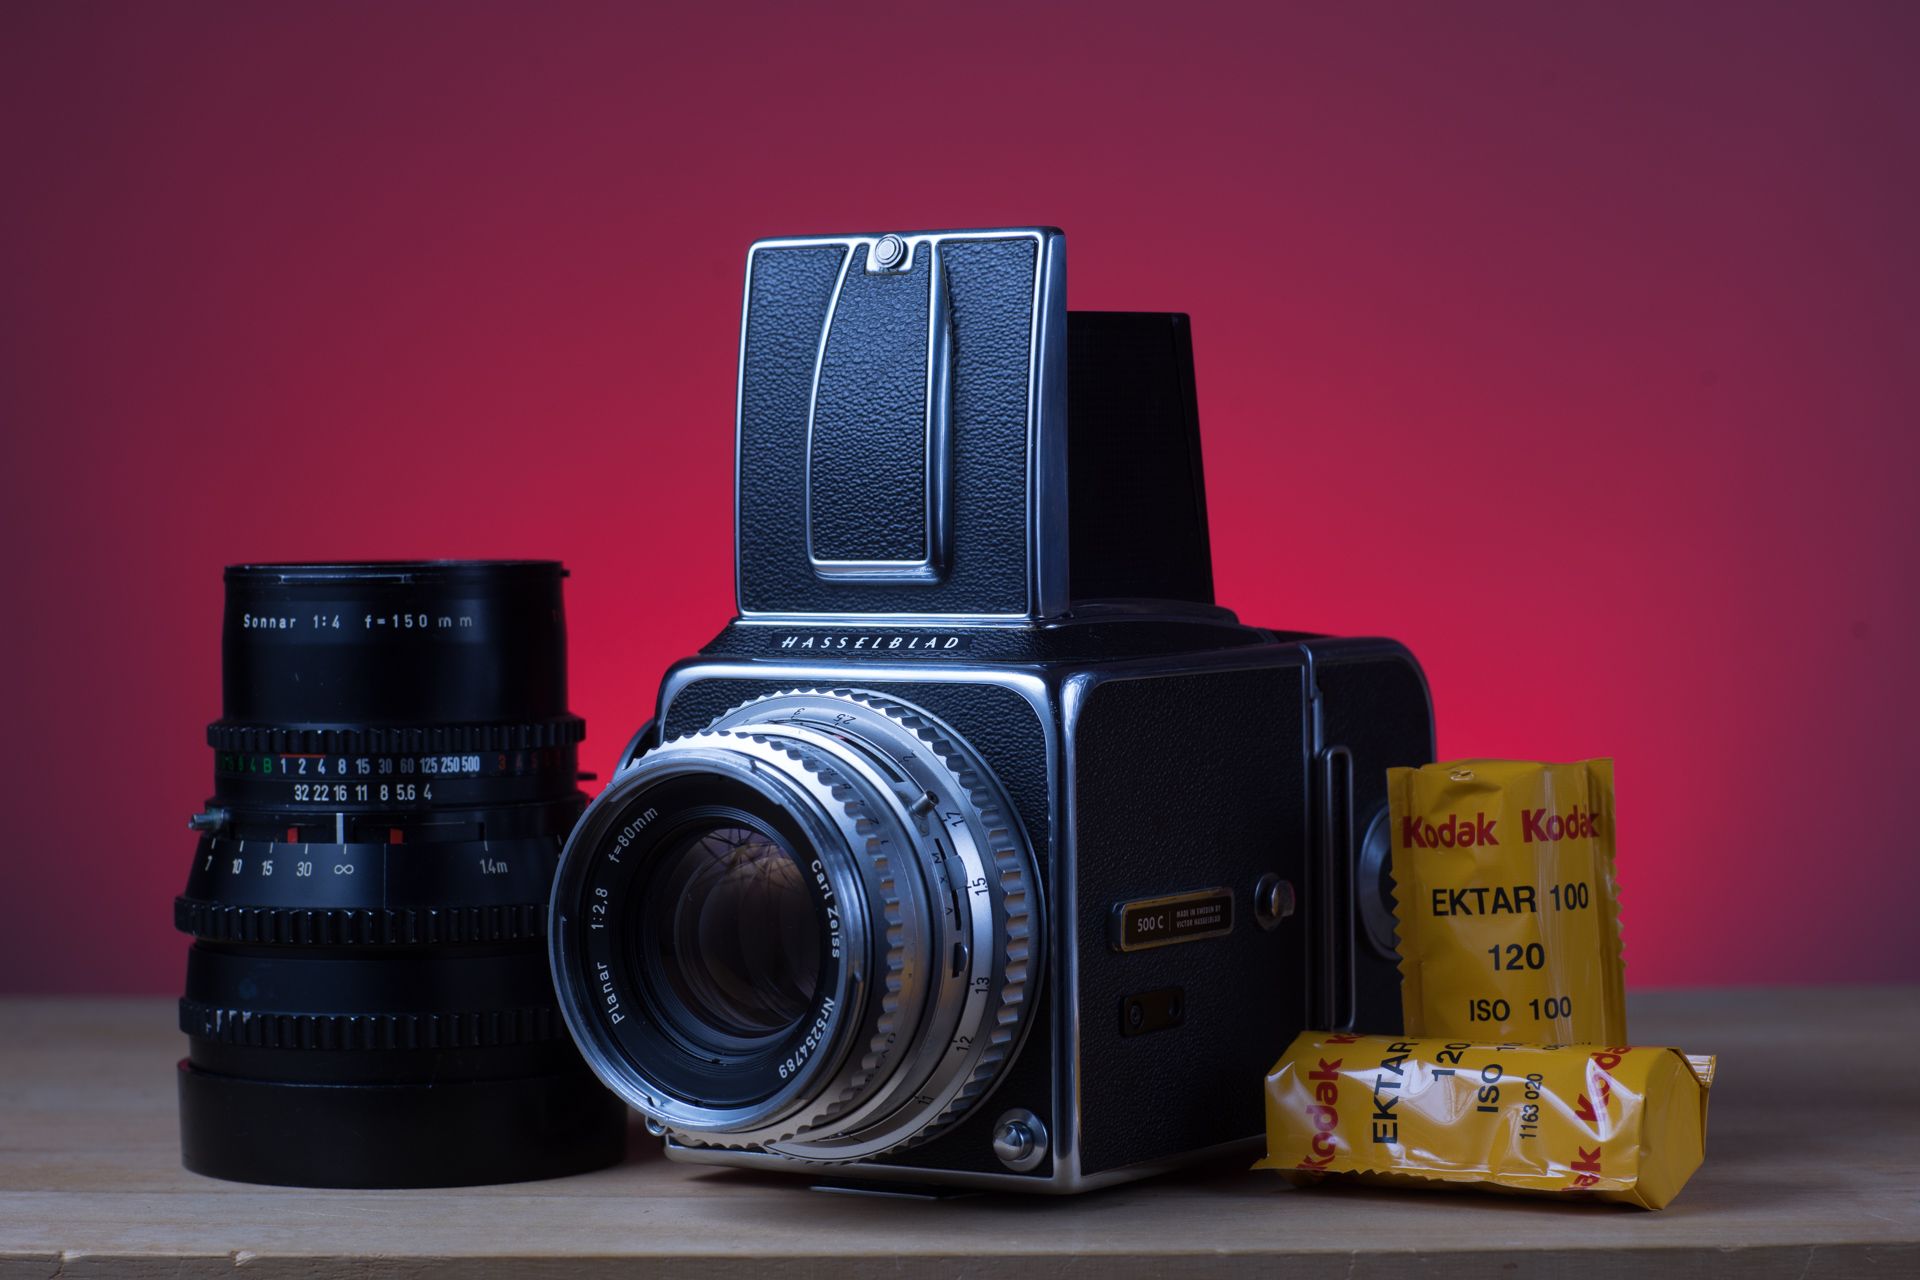
After a few shots (15 minutes), this is the result of the above setup.
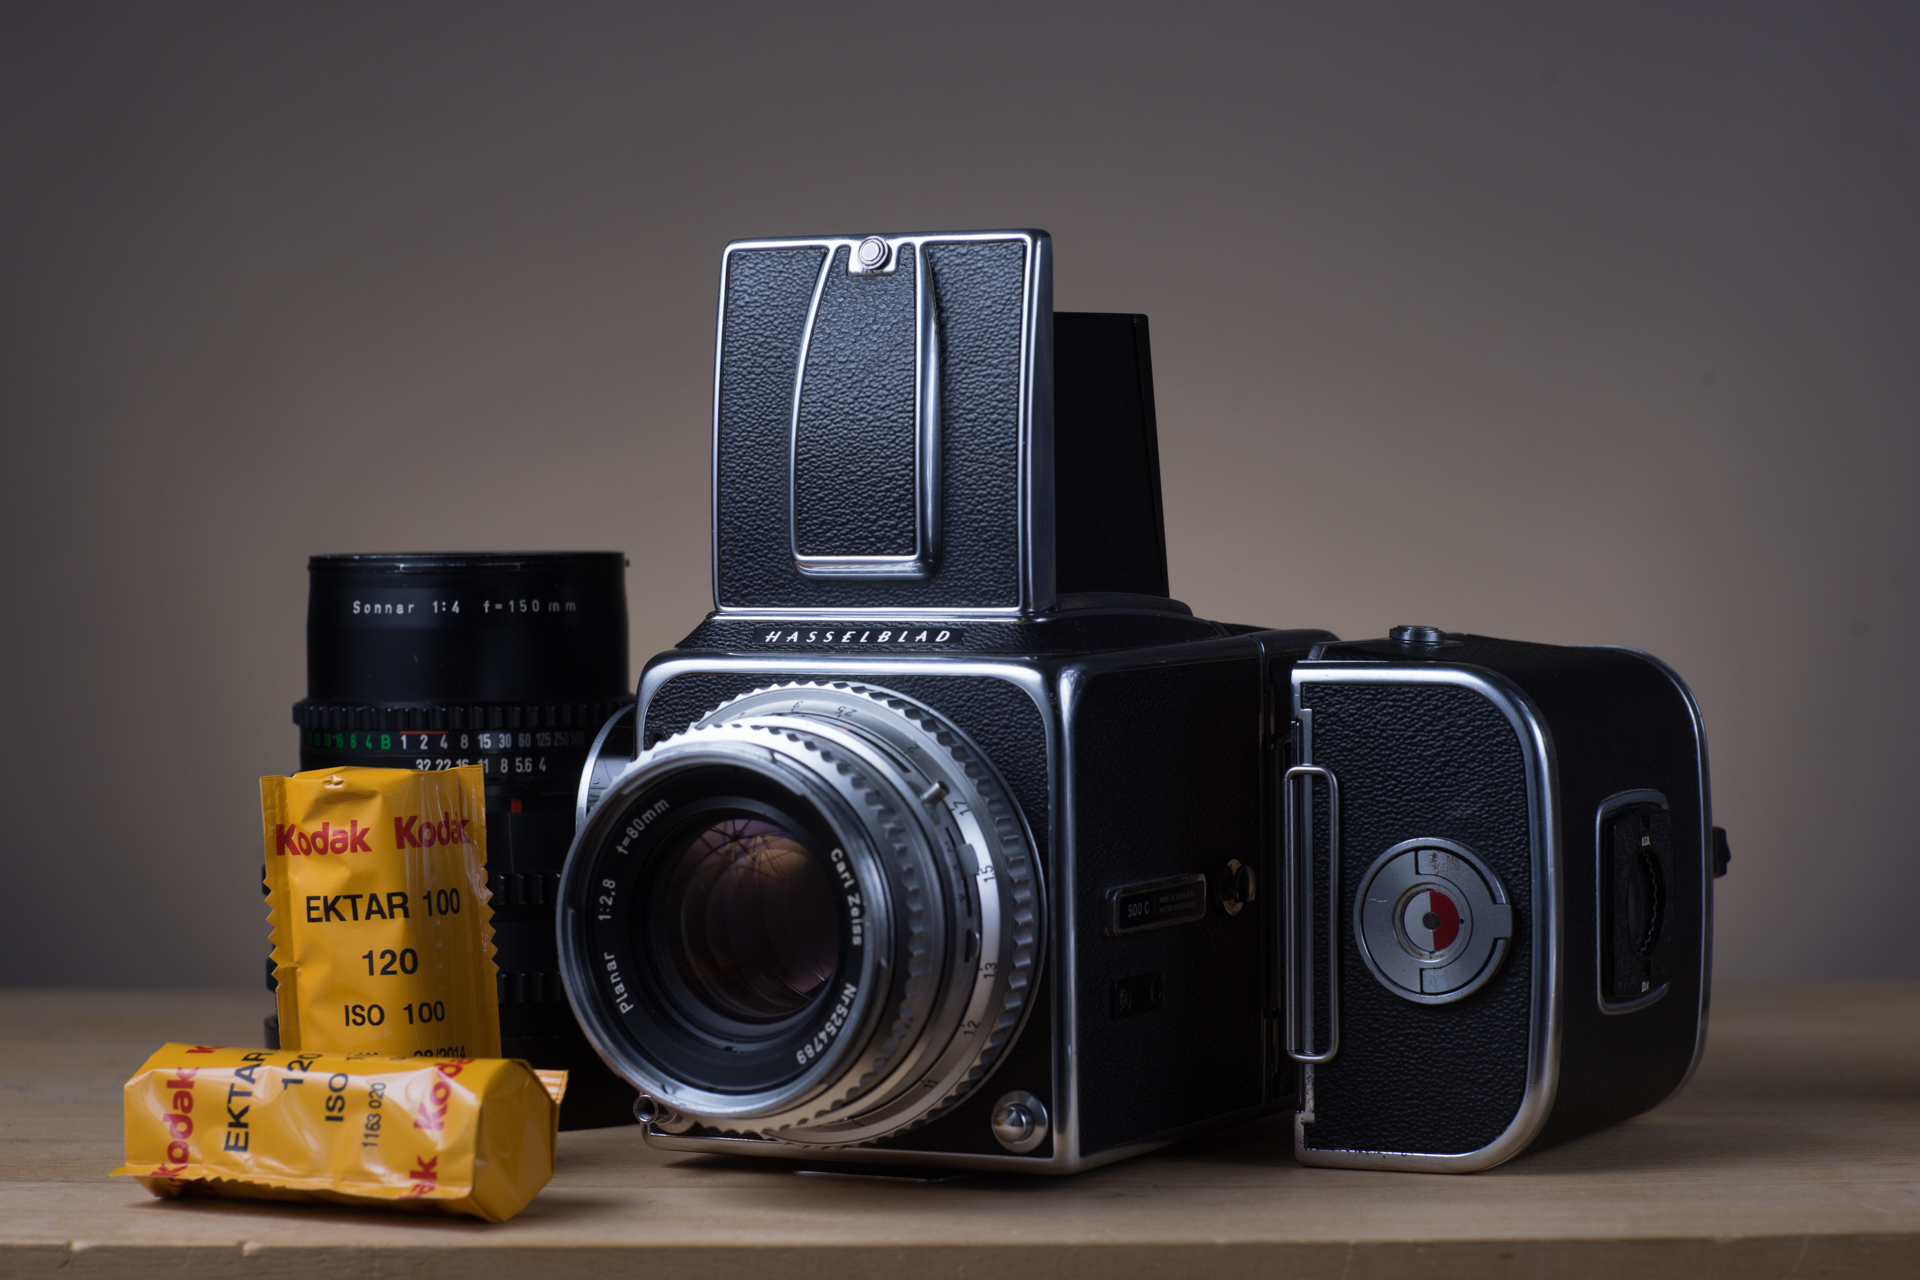
I added some more equipment in the shot to get a nicer composition. Moved them around a bit until I was happy.
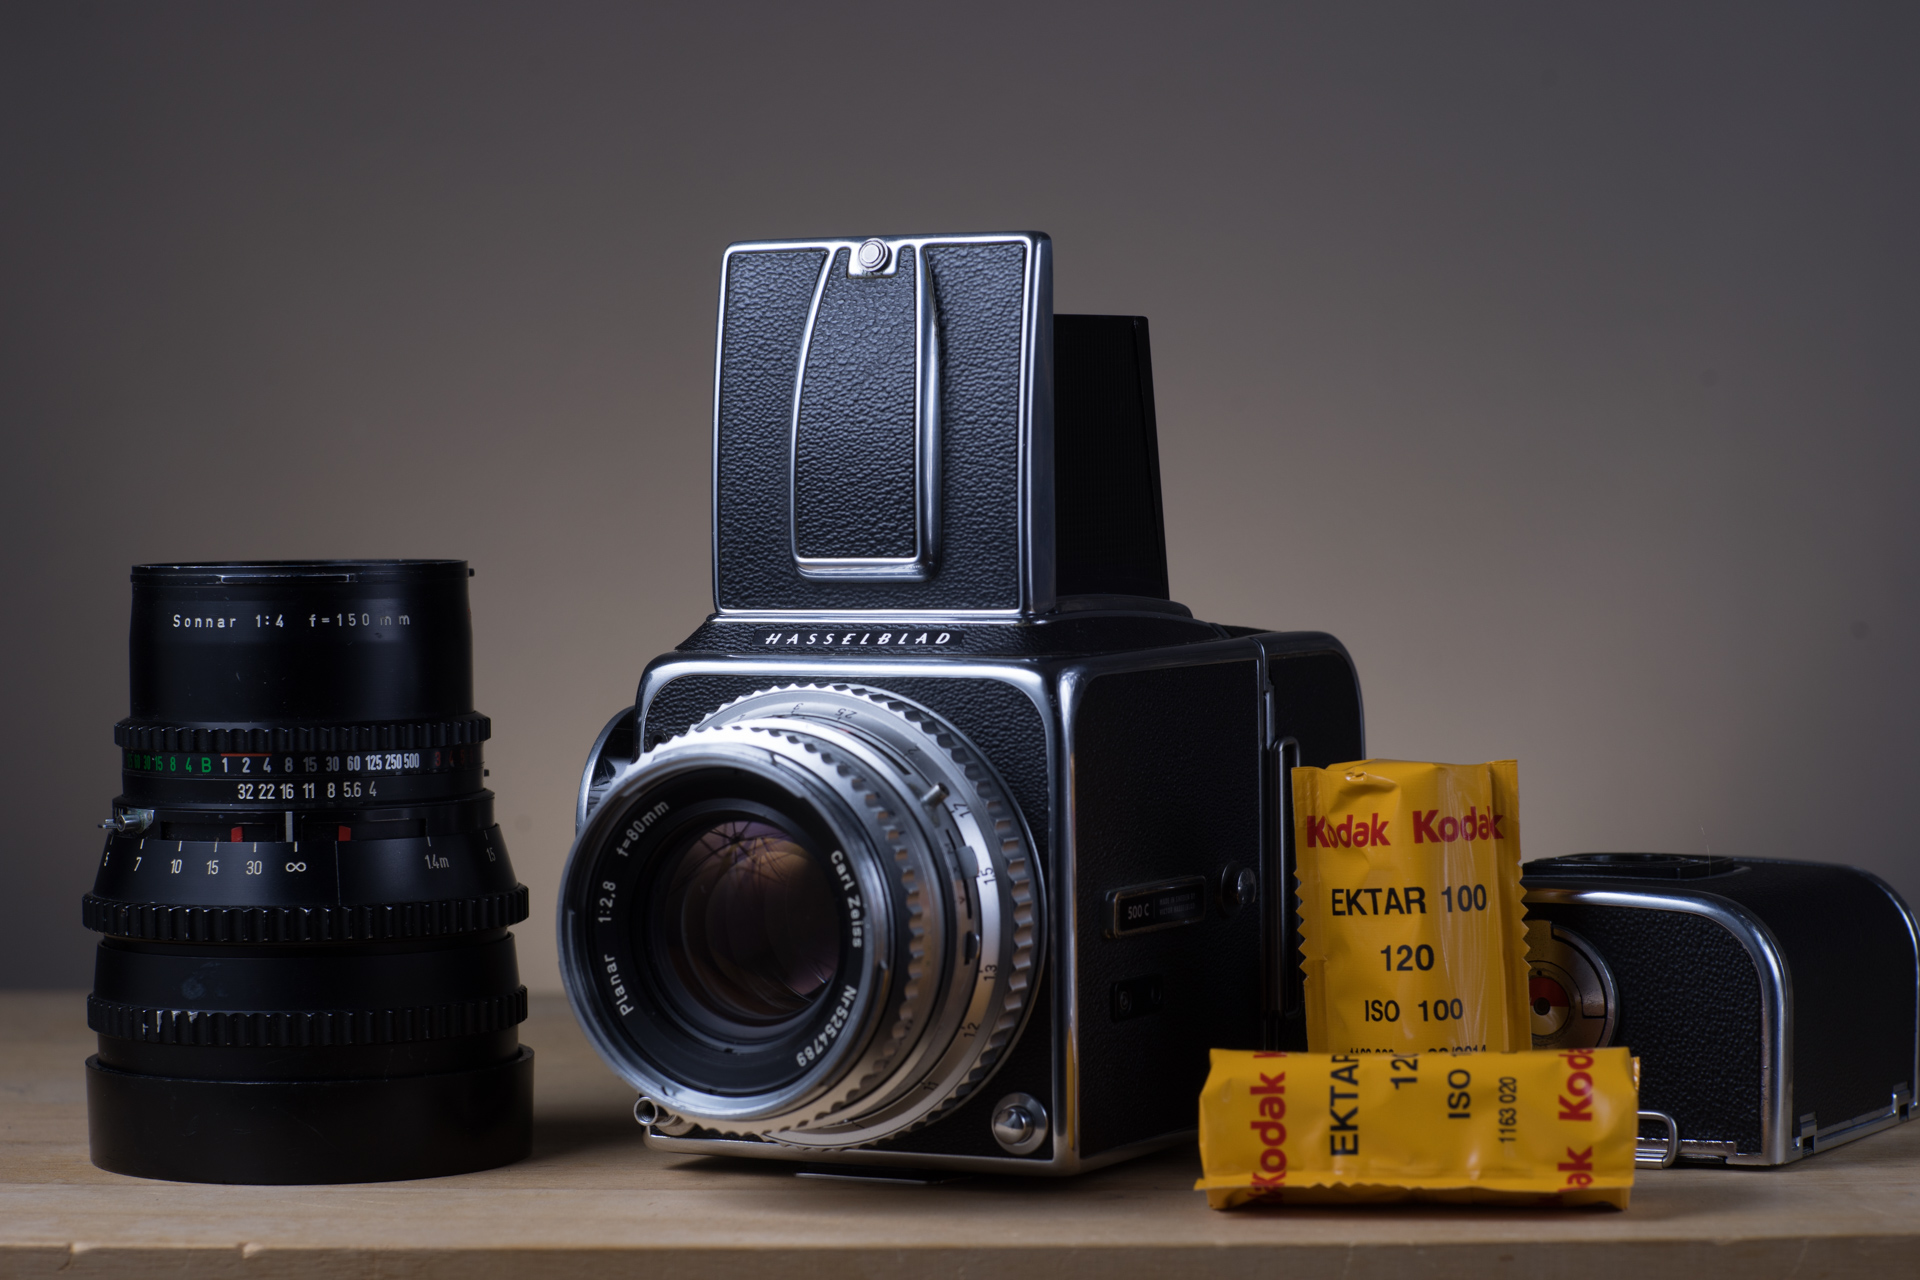
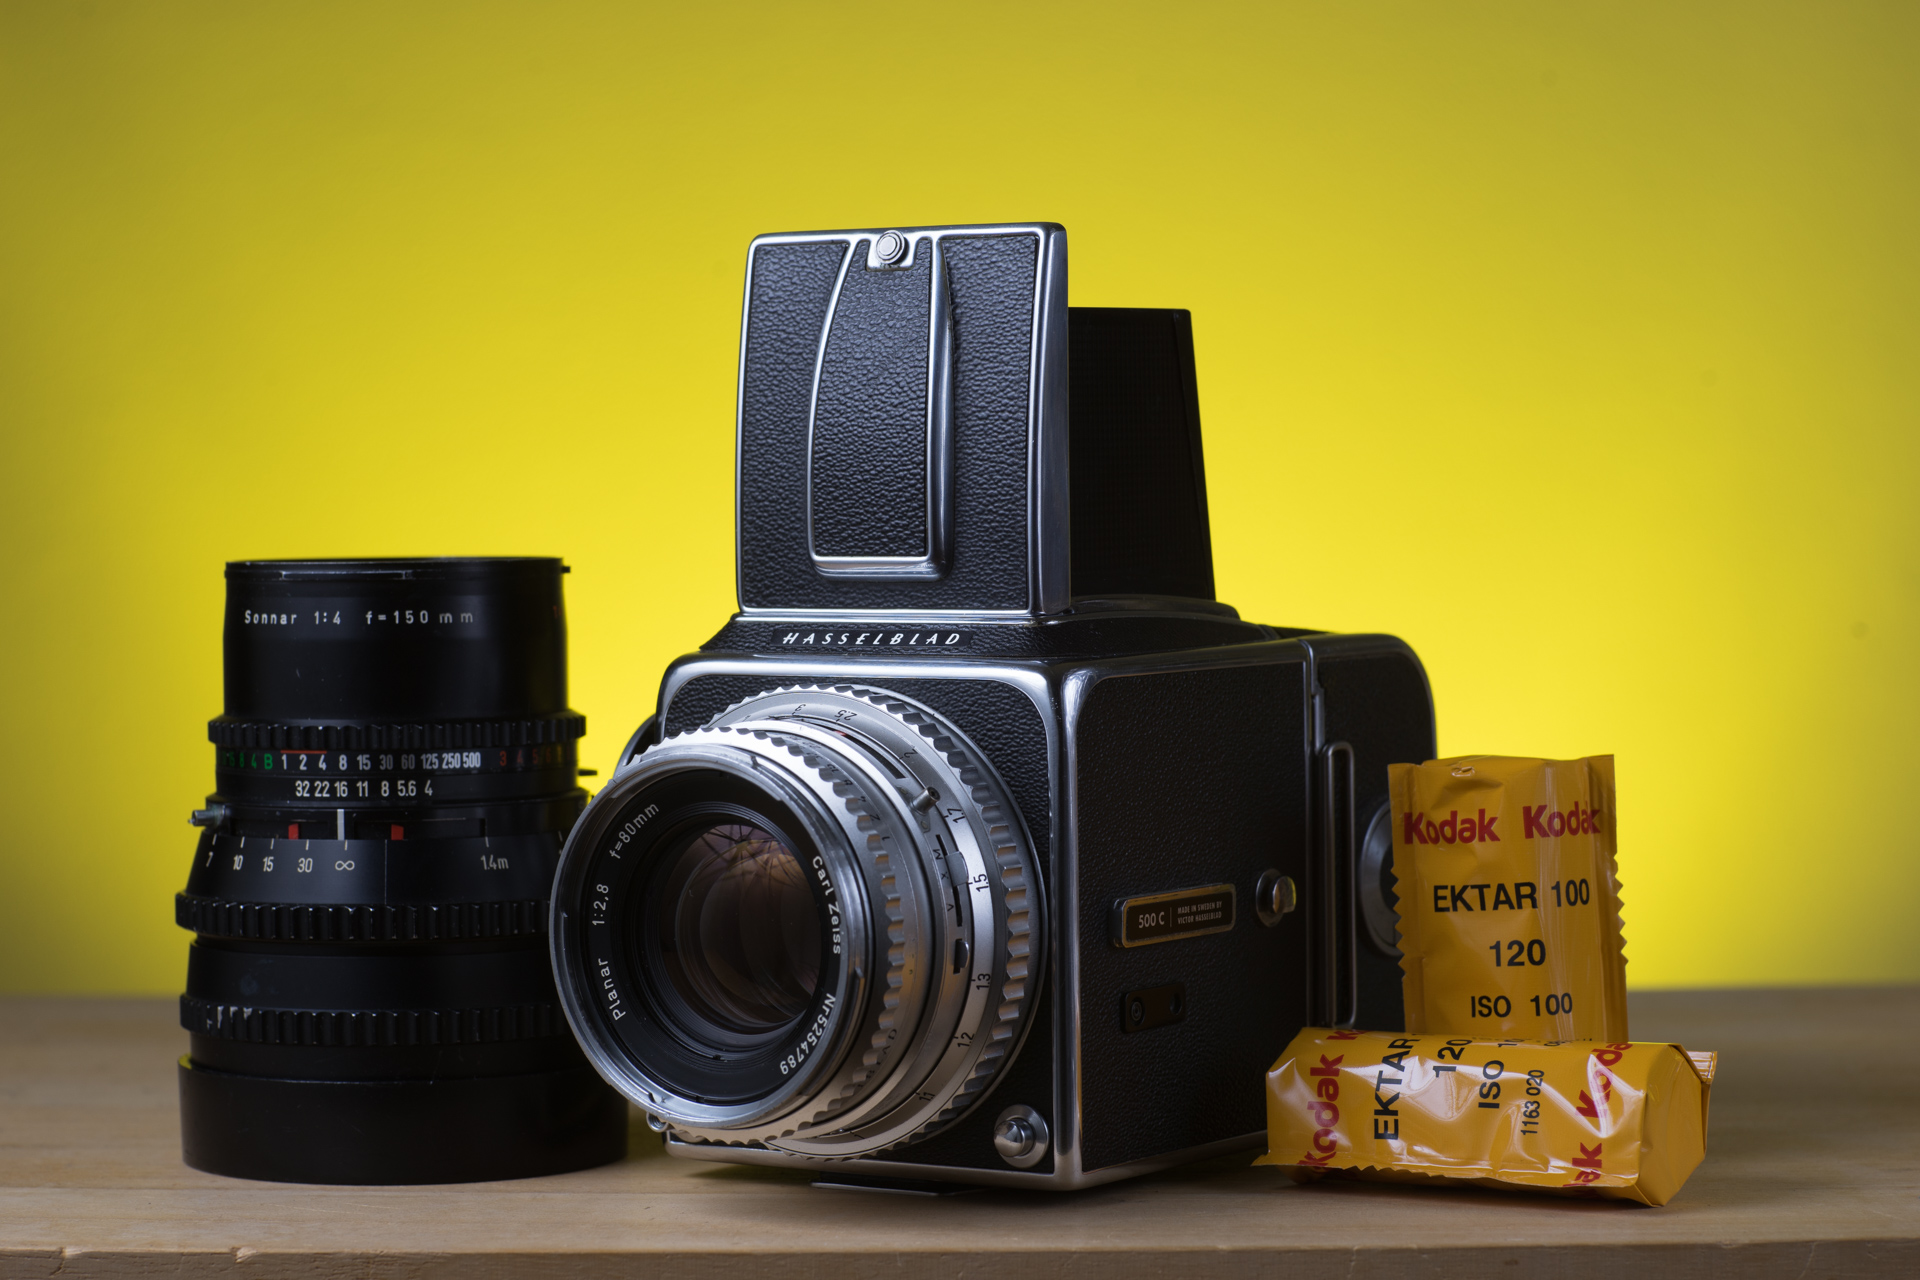
Overall it felt a bit dull. A bit to grey/brownish. I unpacked the color gels and started adding some color to the background. I tried different colors. The red and yellow looked really nice.
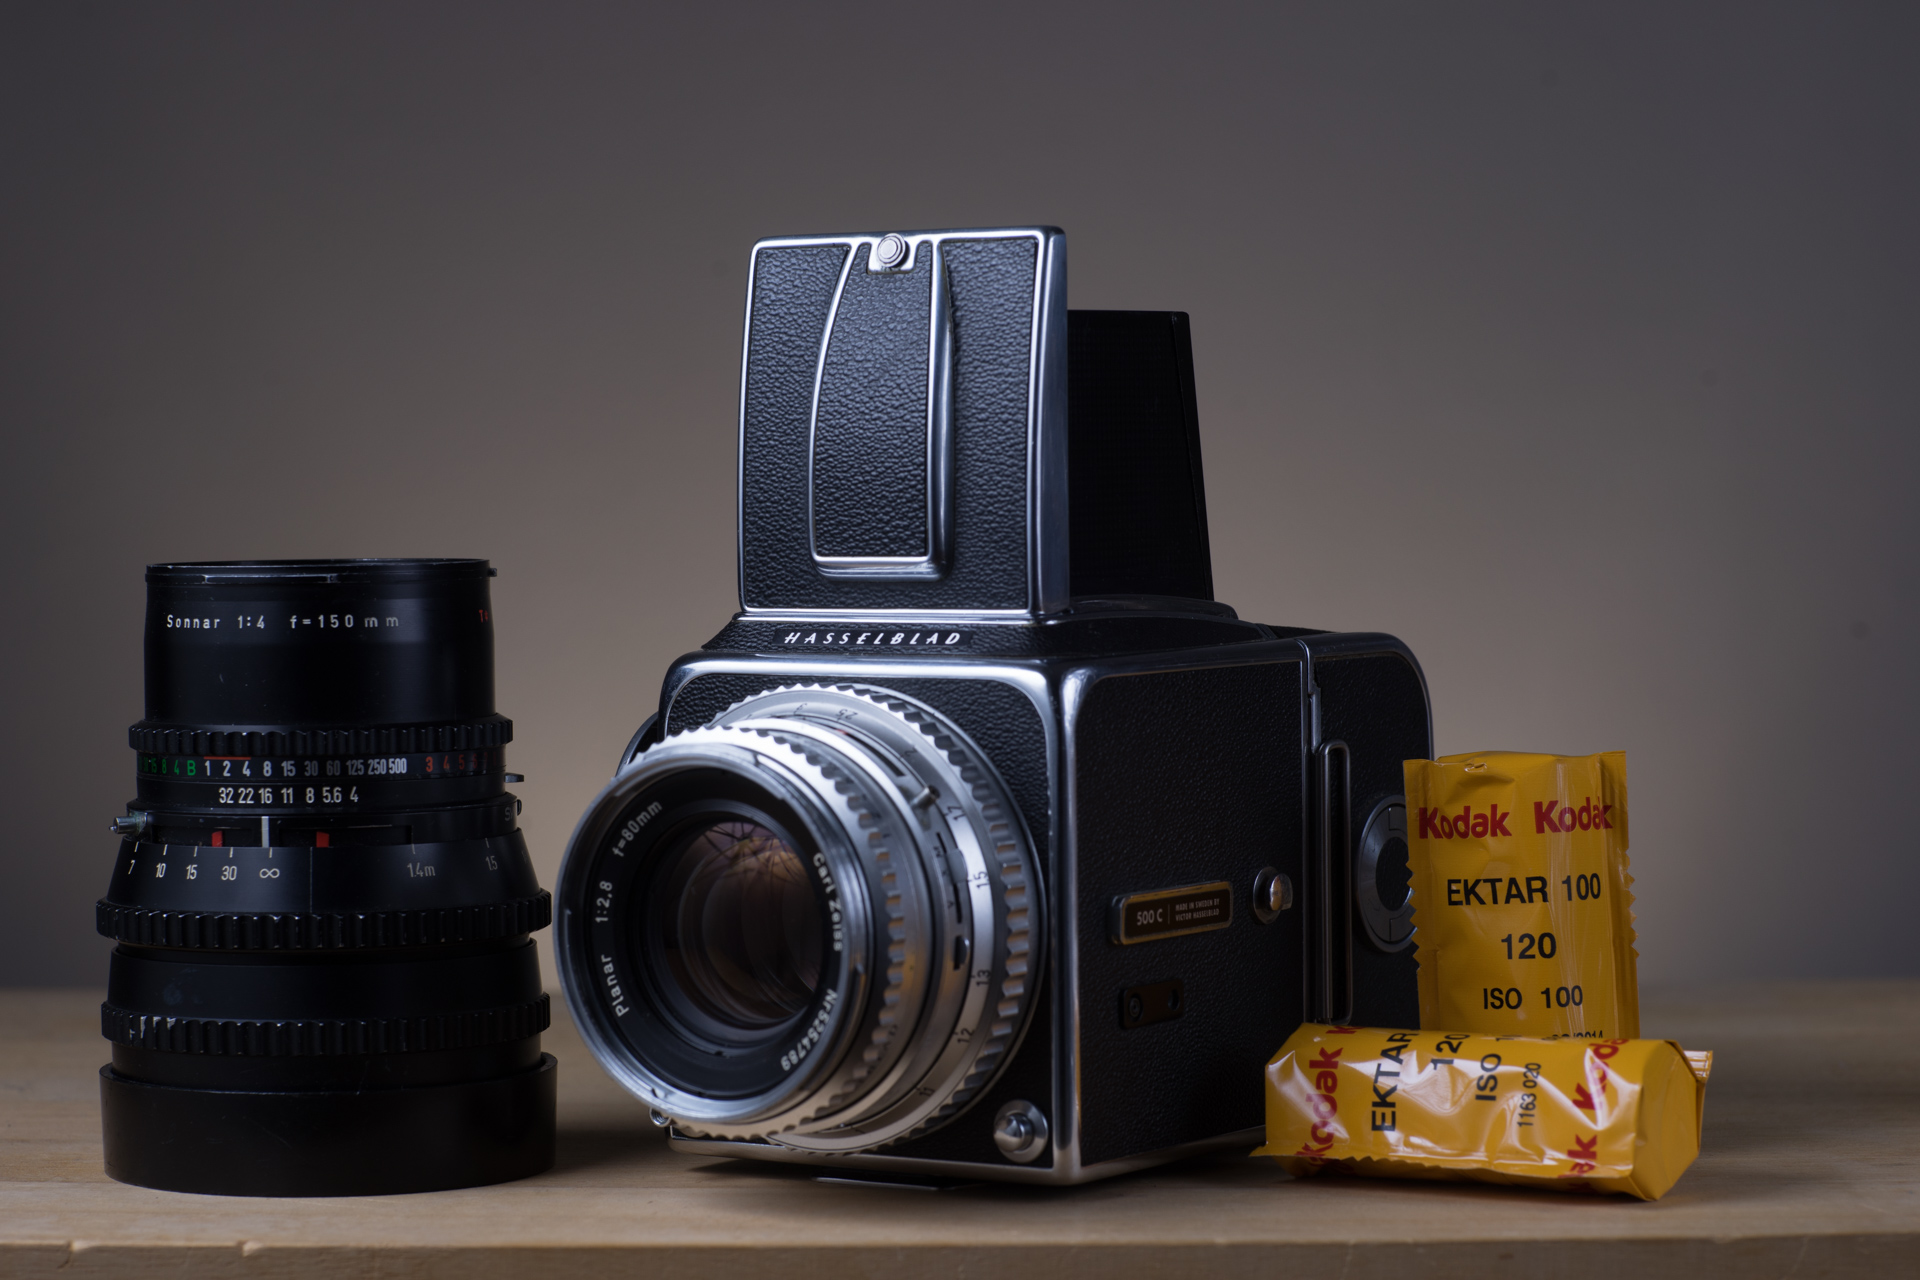
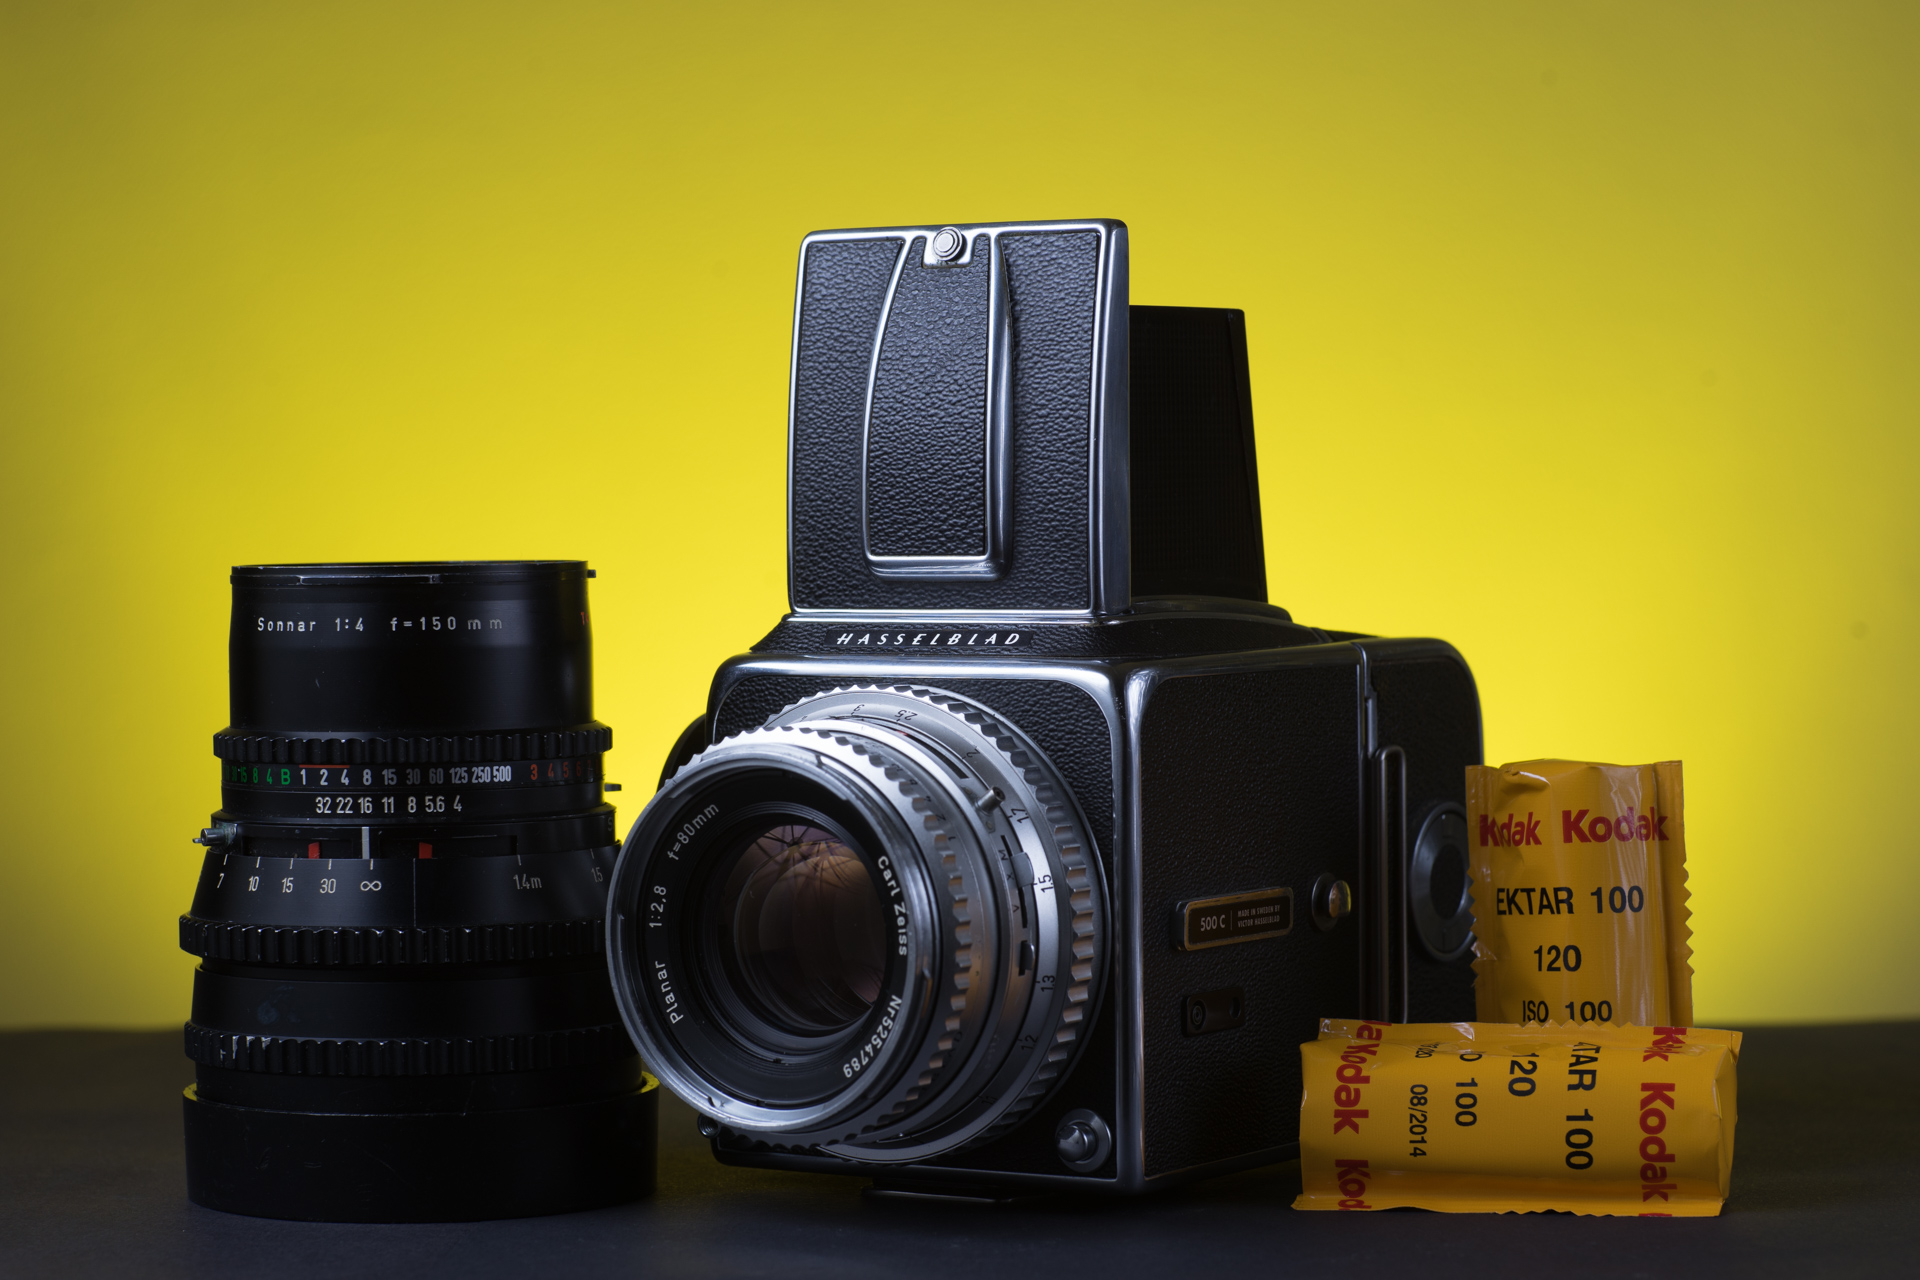
I wasn't happy with the table and added some black paper. The texture of the paper isn't the best, but it's a lot better compared to the wooden table.
The result
Below is the final image. I did some editing in Lightroom, but not that much. I moved the hue slider of the yellow a bit more to orange to get a warmer background. This is closer to what I saw on my wall.
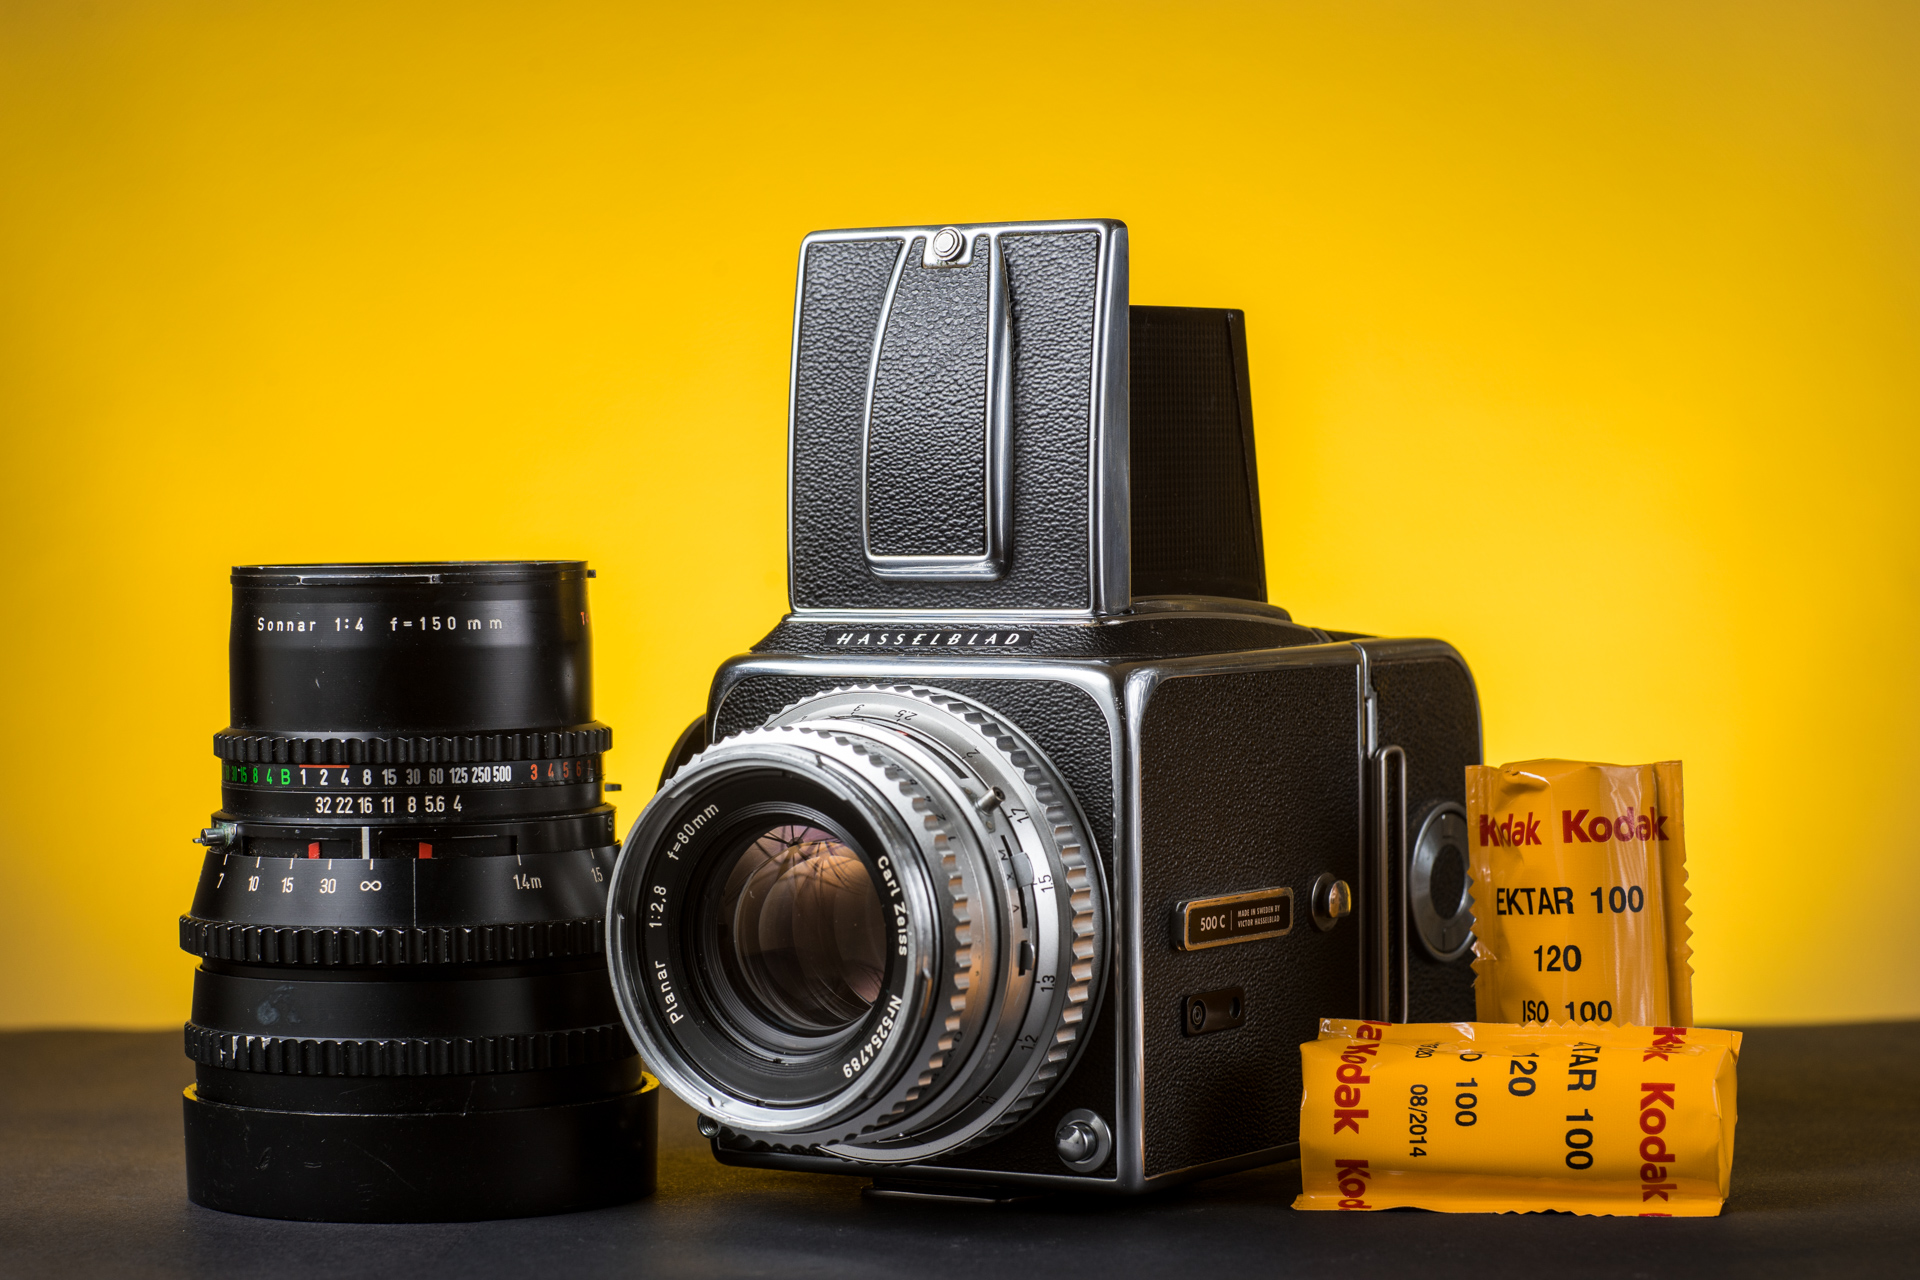
I'm really happy with the final result.
More results
Now that the light is setup I can shoot some different subjects and different angles.
Canon Demi EE 17 (1966) / Canon Canonet G-III 17 (1972) / Canon 7 (1961)
Yashica-Mat
The downside of an umbrella on reflective surfaces. You get this spider-like reflection. I should have used the defuser that came with the 5-in-1 reflector kit. Or get a softbox :)
Again the reflections are a bit busy due to the umbrella.
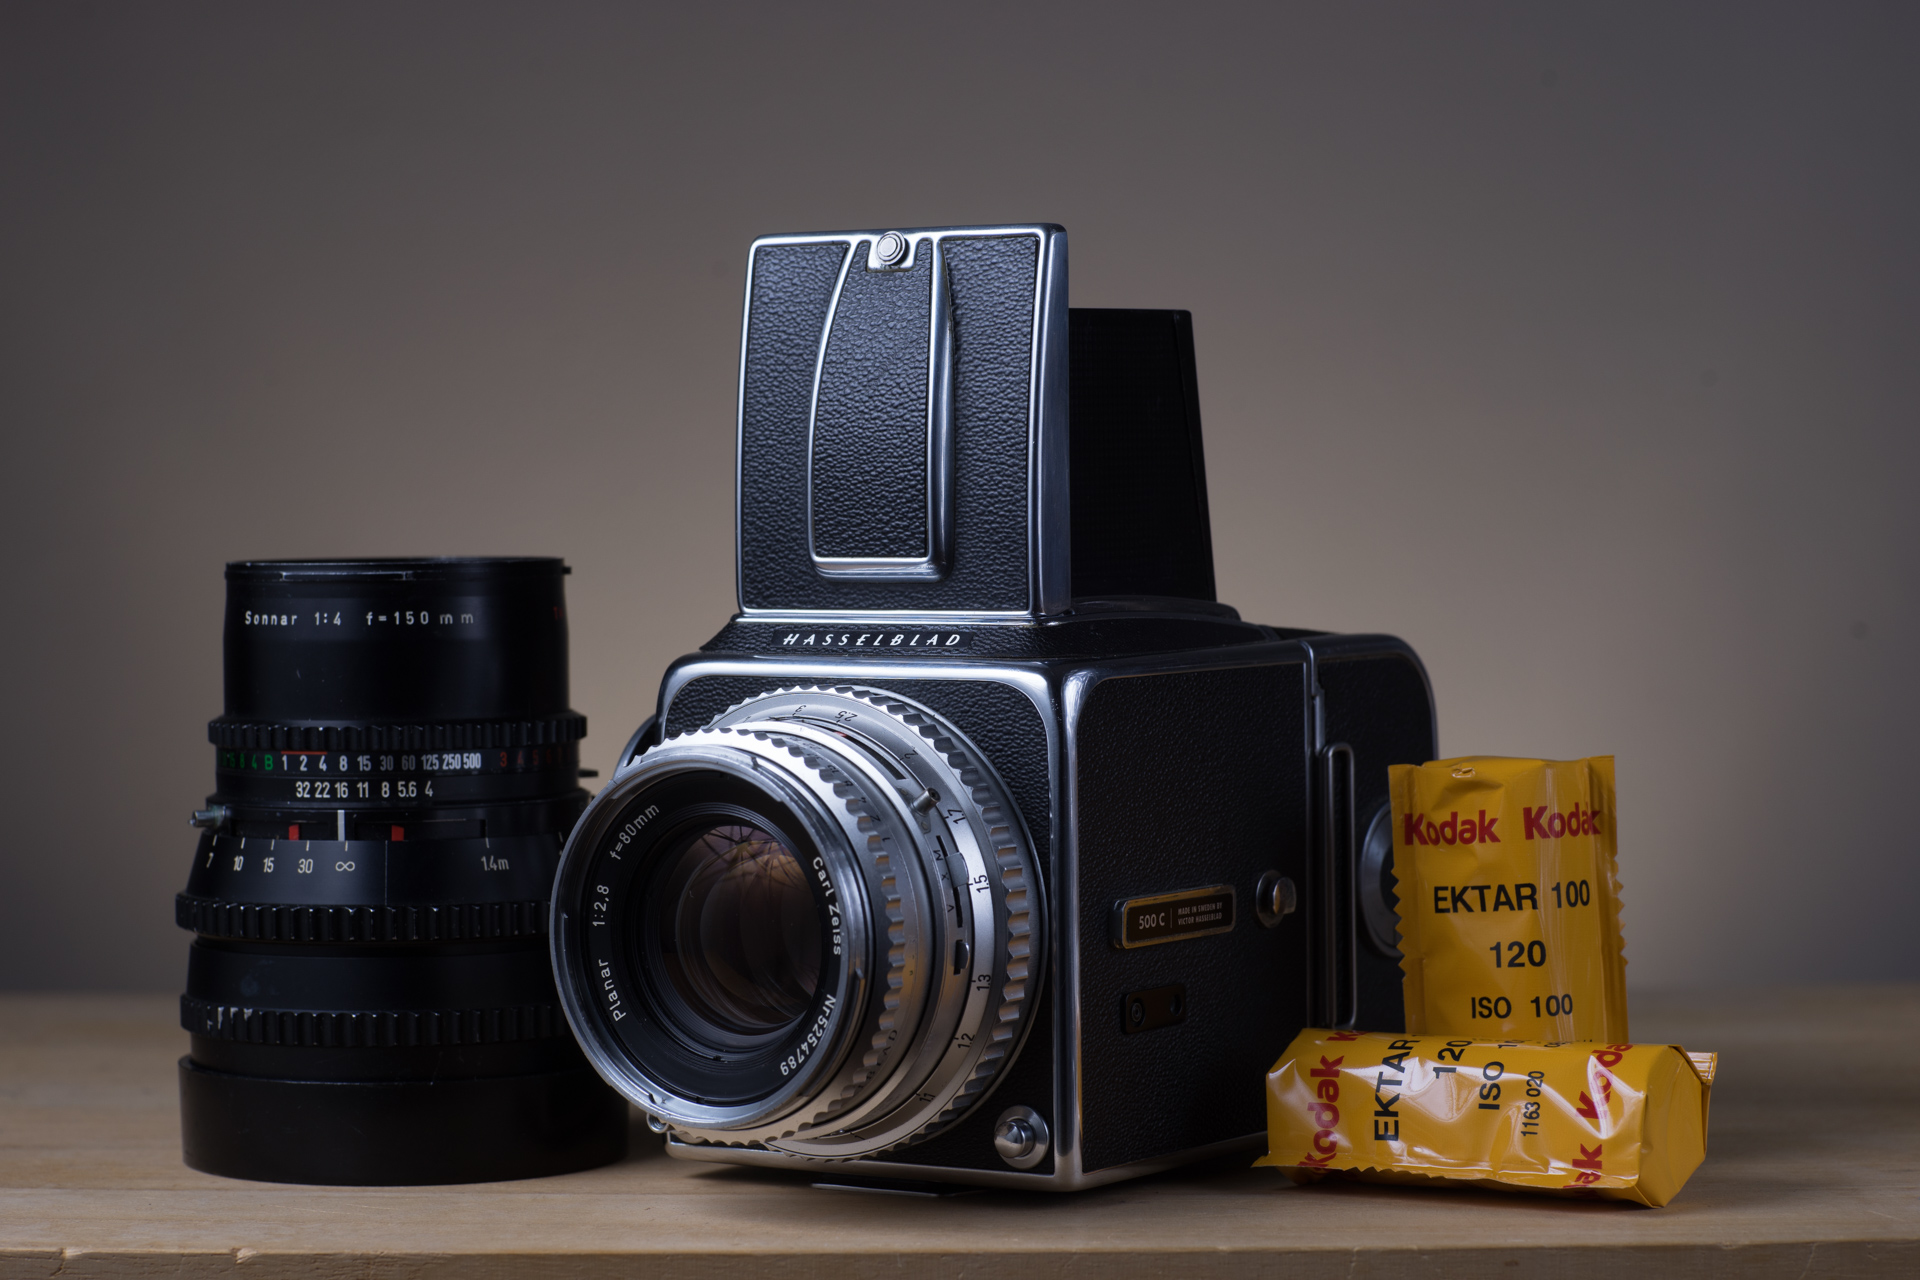
Without the background flash.
Thanks!
I had a lot of fun figuring all this out. I'm really happy with the results! I used a Sony A7 and a bunch of Canon FD lenses. This setup also works perfectly with my Fuji X-T1. If you have any questions or comments, please let me know.
Thanks for reading!